 Posted on January 30, 2015
 by Don
  0
0 
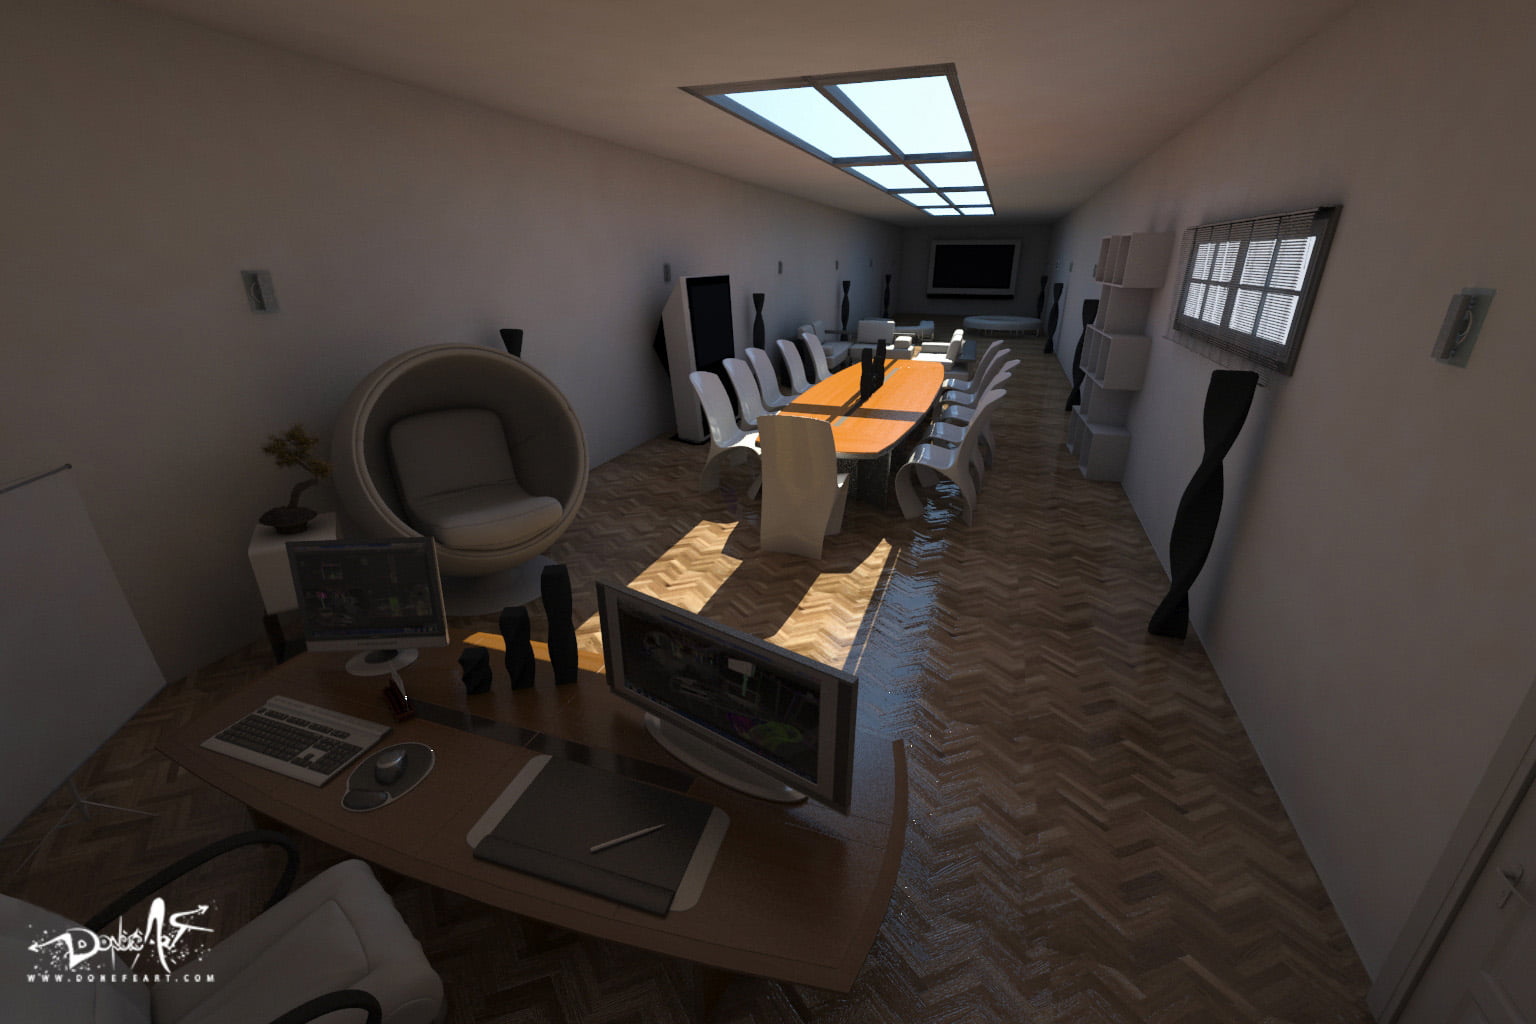
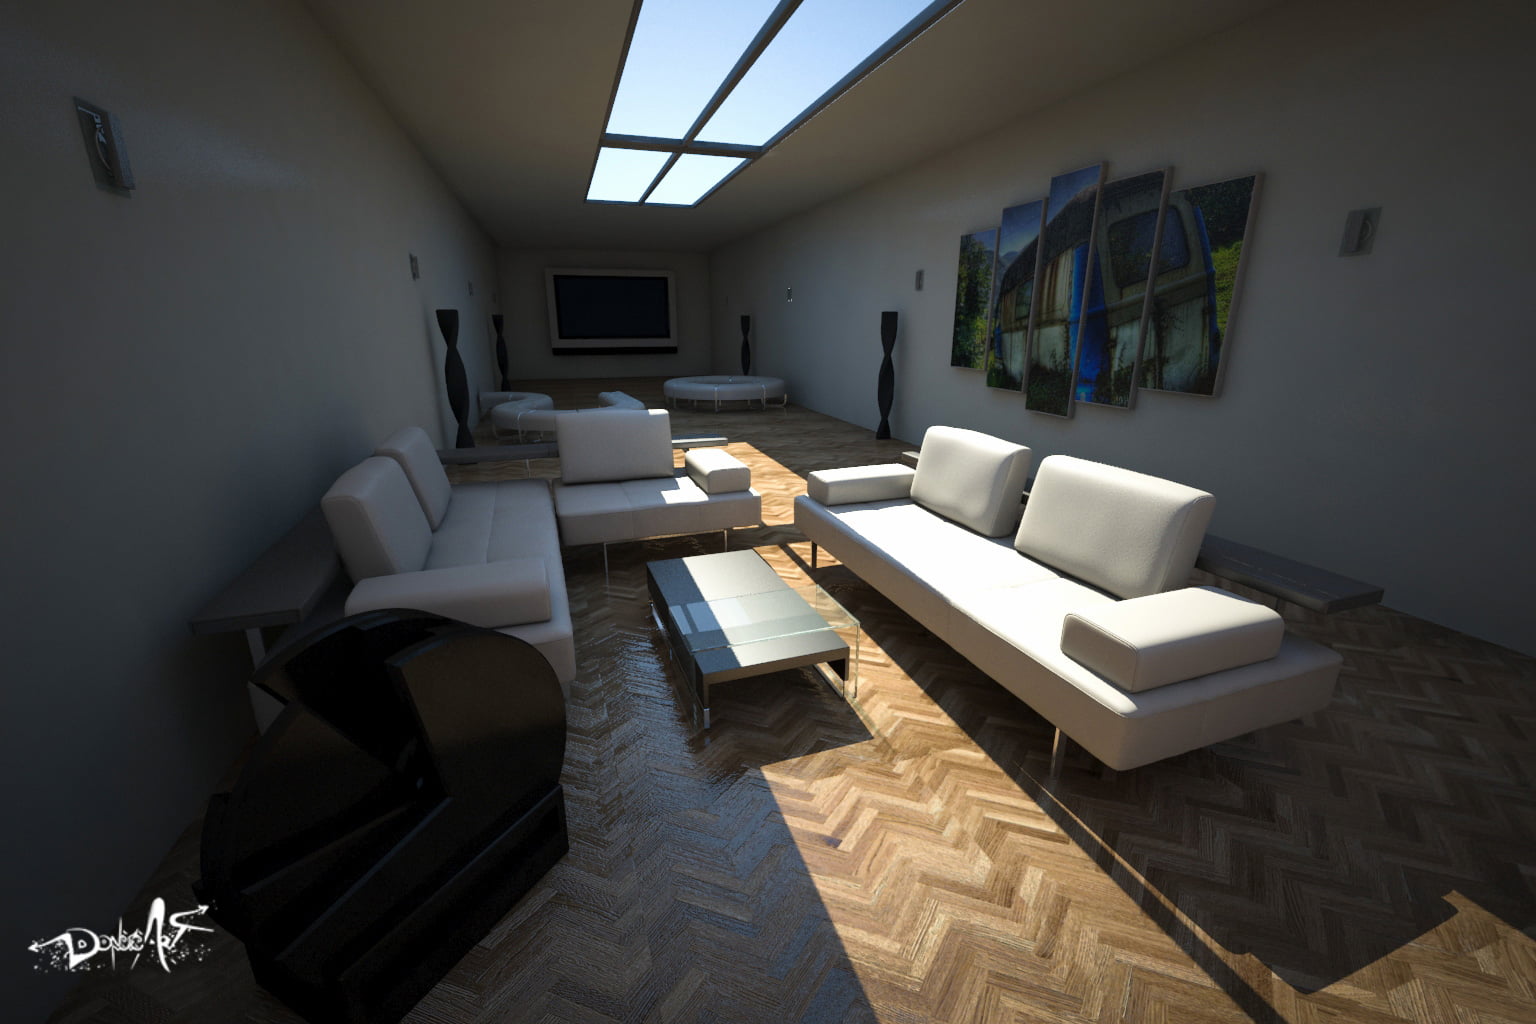
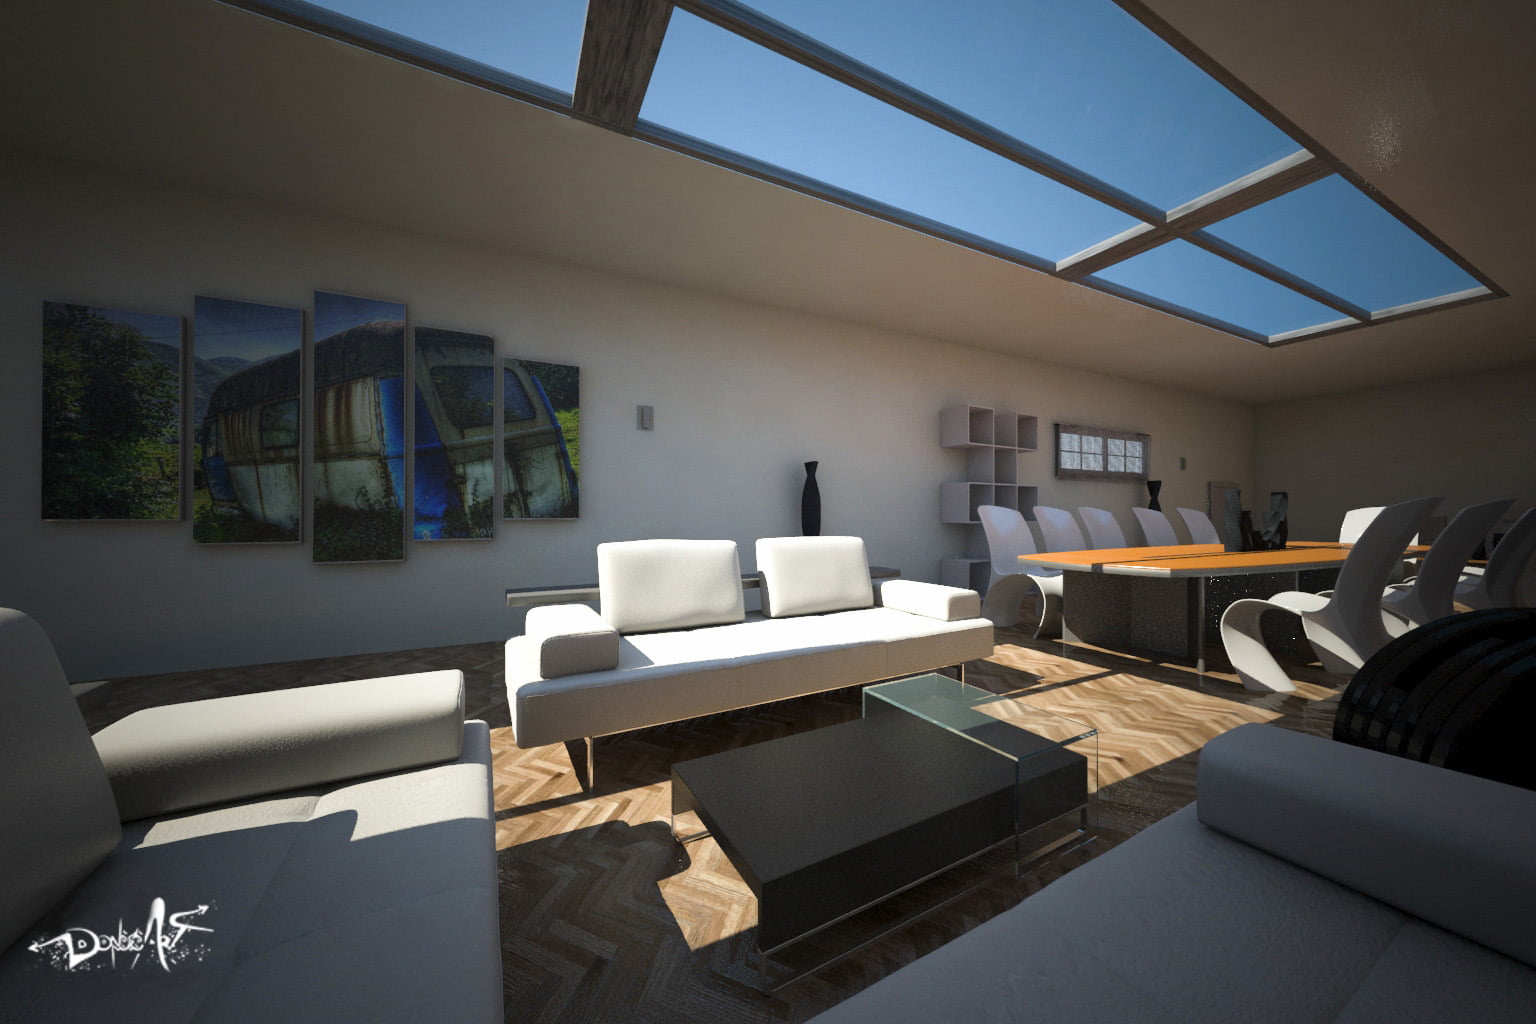
I had this time a special request from a customer asking to create a full 3d realistic office for a future project. The job here was very exciting as she didn’t have any plan or idea how her office would be but some vague ideas of the structure of it, thus giving me free choice to create the full composition on my own, and couldn’t wait to publish the work and share with you!
The idea of this article is more to elaborate the technique of lighting in 3D and how it is very important to use some of them to give a final realistic aspect, I would dedicate a full article in the future about modeling and texturing which is another complex and separate universe. This is not a tutorial but explaining some importante points that can increase dramatically your composition 3D close to reality and ready to animate it!
To make a scene 3D realistic think of physics!
lights bounce to a certain way with the harmony of nature, colors bounce as mirrors according to the texture of the material and its reflection, and shadows are affected according to the ambient.
To achieve a realistic 3d model you have to think of one of these words, Radiosity, Reflection, Refraction:
Radiosity: Radiosity is a detailed analysis of light on reflections that diffuses on surfaces. e.g a red color of an object will be reflected (bounced) to its close white surface around it that will make it red diffused.
Reflection: Reflection is nothing but a mirror image of an object.
Refraction: Refraction is the bending of light rays that explains why objects can be seen through transparency, and therefore objects such as glass or water, look deformed when we look through due to their shape and material.
I won’t elaborate on these techniques above and will make a tutorial later on how to use them separately. Now we know a bit more about the physics of lighting, let’s go back to the scene.
Among the technique of lighting above, I used here more particularly an Ambient occlusion. Ambient occlusion is a scalar value recorded at every surface point indicating the average amount of self-occlusion occurring at the point on the surface. It measures the extent to which a location on the surface is obscured from surrounding light sources.
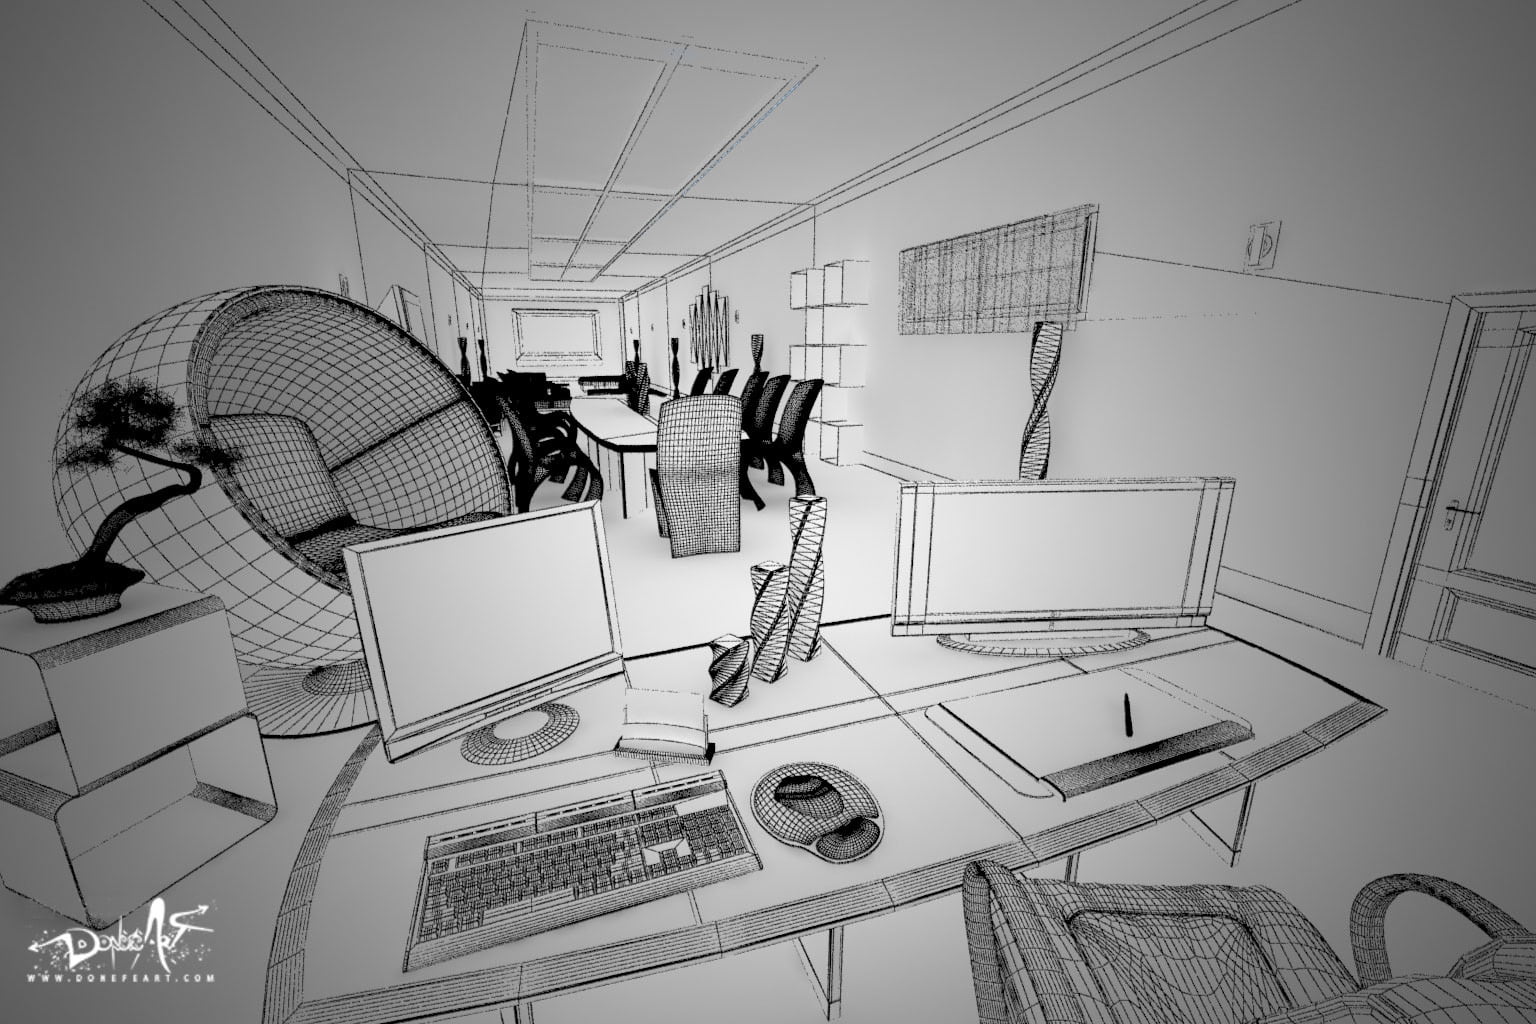
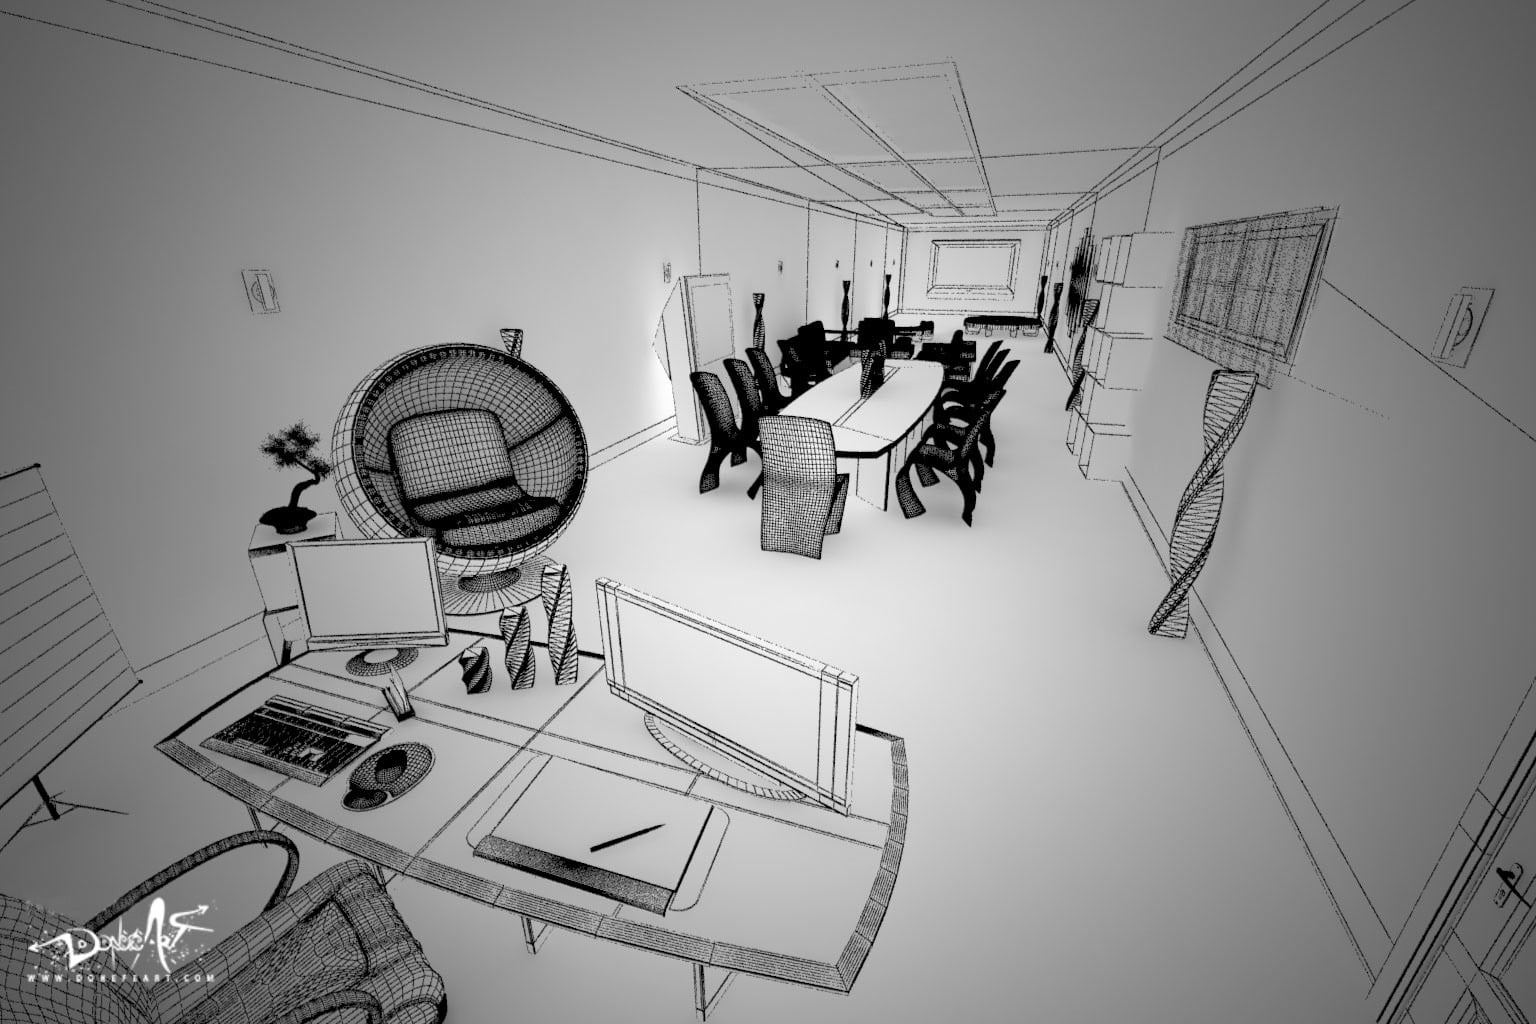
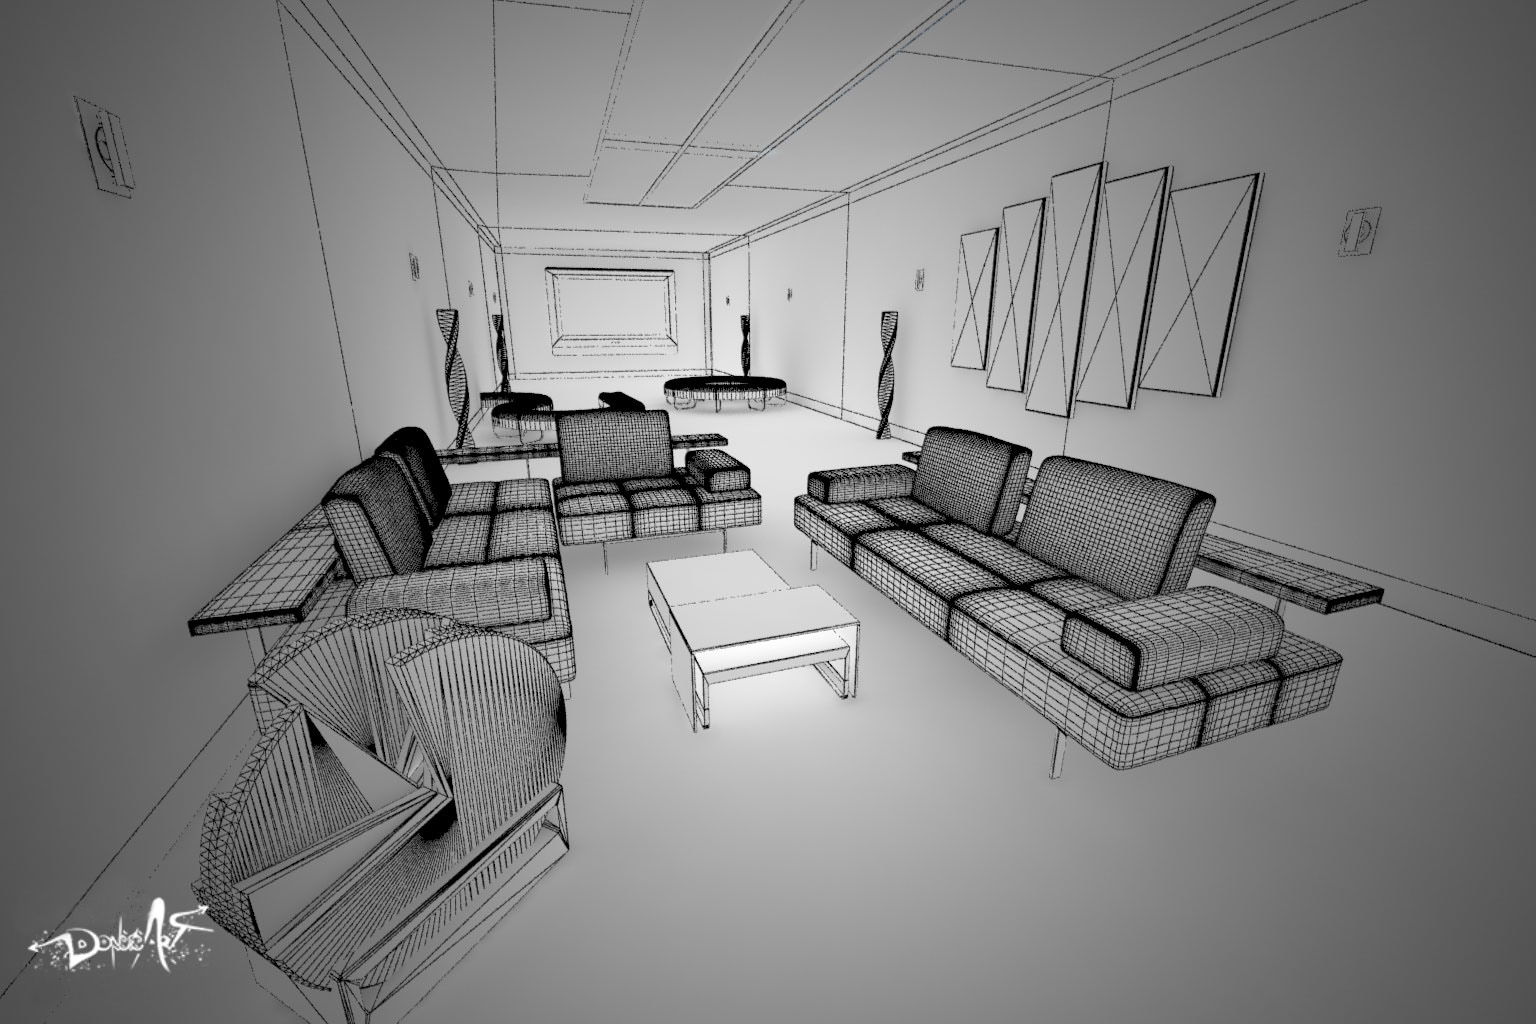
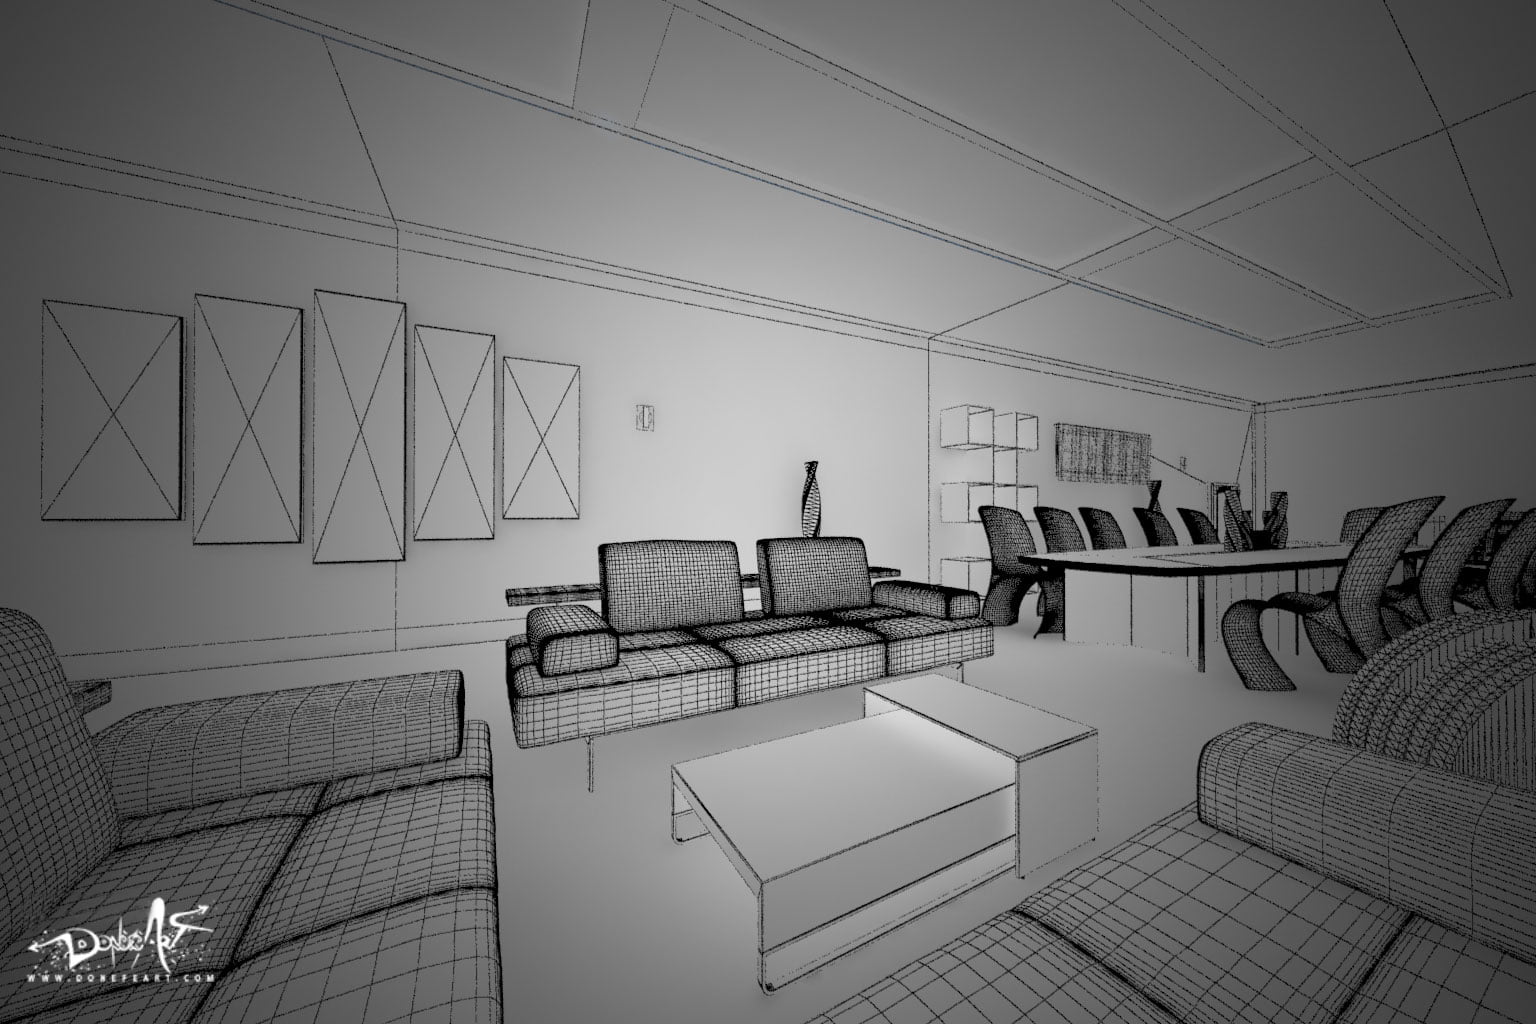
After the full modelization of the scene, I’ve used the “ambient occlusion ” parameter and also other settings to try to get a realistic result, note every shadow and corner of objects.
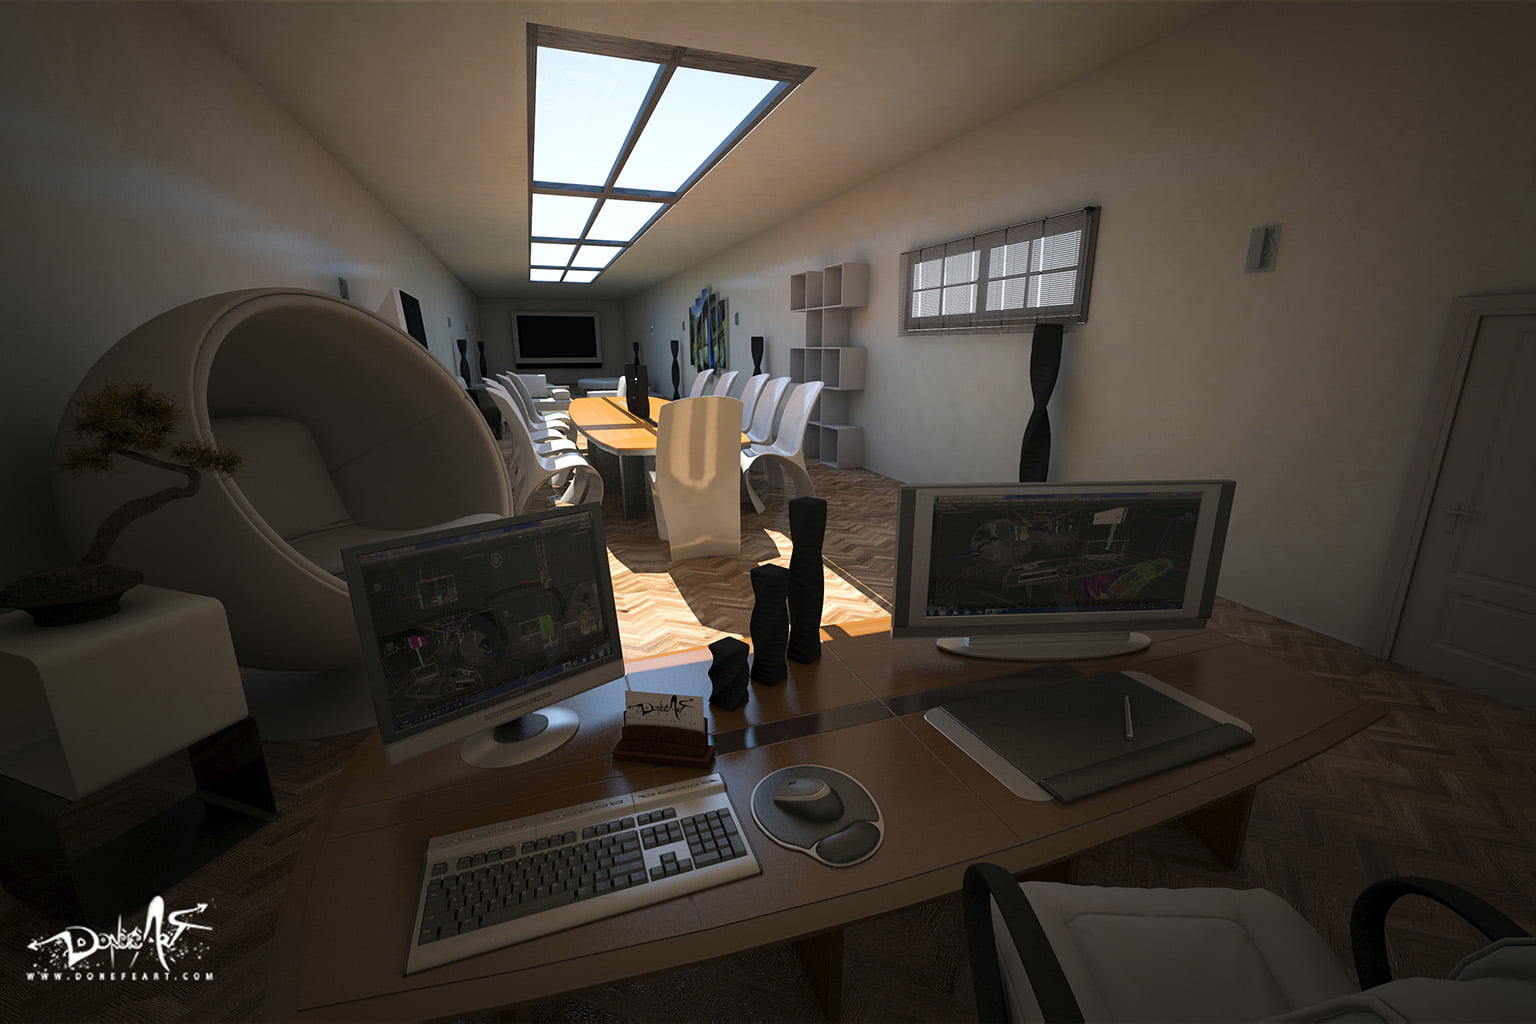
I’ve used here a “physical camera” with a real camera setting as it was in real life. One of the common mistakes in 3d rendering is to use inappropriate camera angles. Using the right angles as you were yourself behind a camera will give a a better coherence.
Another common mistake in 3d is throwing too many lights in the scene giving unrealistic lighting.
One of the respective choices of the customer was to make a bright office from natural light sources. And in my scene, there is only one light used! it’s a “VRaySun light” like if it was in a daytime. In a real condition, only the sunlight can be the source of lighting in your room with all respective shadows this depending of the Refraction used (windows).
Finally, we want to know how to use the camera settings like if it was a real camera in our hands in order to achieve a better finality on the rendering.
In order to keep a clean ambient combining good lightings, I have therefore used a “physical camera” set up with a slow-speed shooter speed and diaphragm with a large aperture. For people who know a bit more about my other work, I couldn’t resist placing a beautiful frame on the wall with one of my projects (with the customer’s permission).
Tools:
- 3d Max
- V-ray render
- Photoshop(texturing)
- After Effect (animation)
- Adobe Premier